Application Functionality Check
Preliminary Actions
To check the deployment of the Kolmogorov.ai Predicate application, it is necessary to:
- Install Kolmogorov.ai Predicate with all components, including linking the application to KeyCloak.
- Create a user with the role
predicate_adminin KeyCloak. - Deploy or provide access to an S3 storage or a suitable type database. There must be at least one
.csvfile or table in the S3 storage or database, respectively.
Initial Authorization
User access to the Kolmogorov.ai Predicate application is done through the web browser interface.
To start working in the application, you need to log in.
Authorization
Logging into the Application
To log into the Predicate application, you need to navigate to its deployment path in the browser.
The authorization page will open:
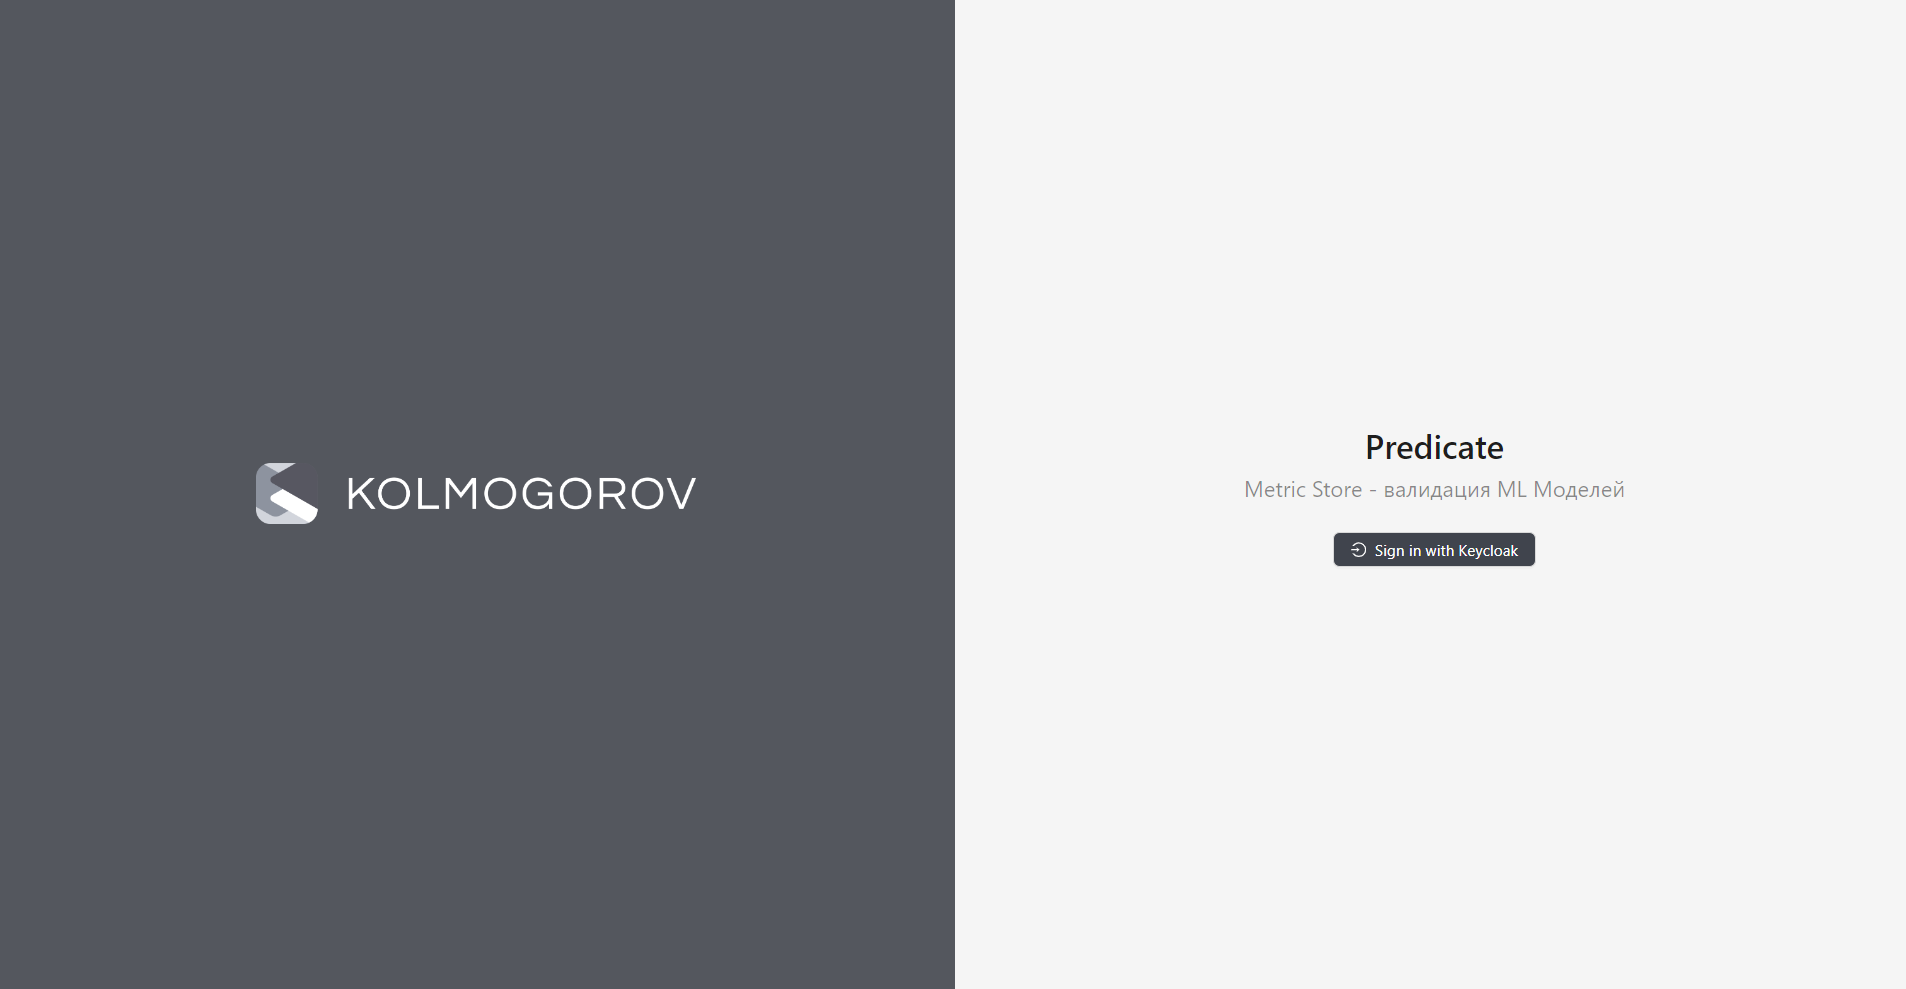
Click on the "Sign in with KeyCloak" button. In the opened window, enter the username and password of the created user with the role predicate_admin in the corresponding fields.
Working in the Application
After installation, the application should only contain a filled metrics catalog (Catalog > Metrics). Other catalogs should be empty. To fill the application and check its functionality, the following actions must be performed:
- Add a data source.
- Add a dataset from the source.
- Create a project.
If all steps are successfully completed, it can be considered that the deployment was successful and the application is operational.
Data Source Registration
Data source registration is described in the section "Connecting a New Data Source" of the user guide.
Dataset Registration
Dataset registration is described in the section "Registering a New Dataset" of the user guide.
Creating a Project
After registering all the above objects, you can proceed to create a project.
Access to the new project creation form is done from the projects catalog (Dashboard > Projects) by clicking the "Add" button:
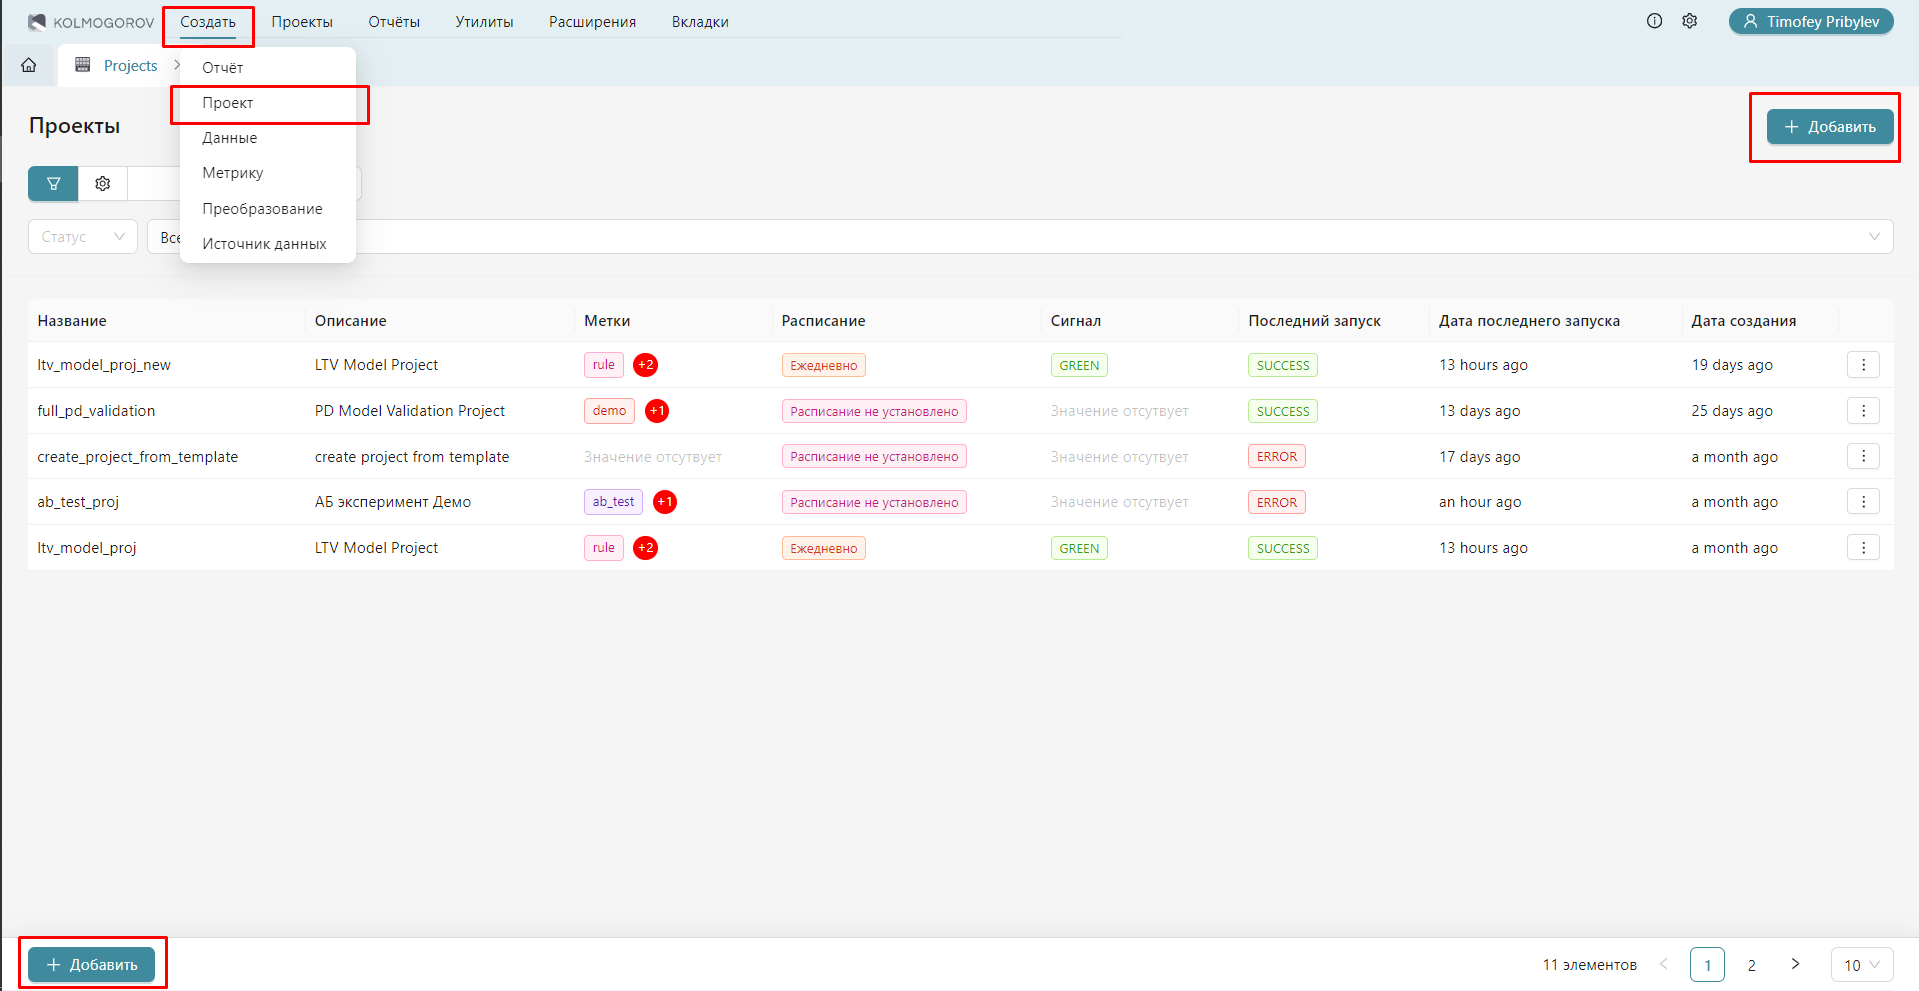
As a result, an editor for creating a new project will open:
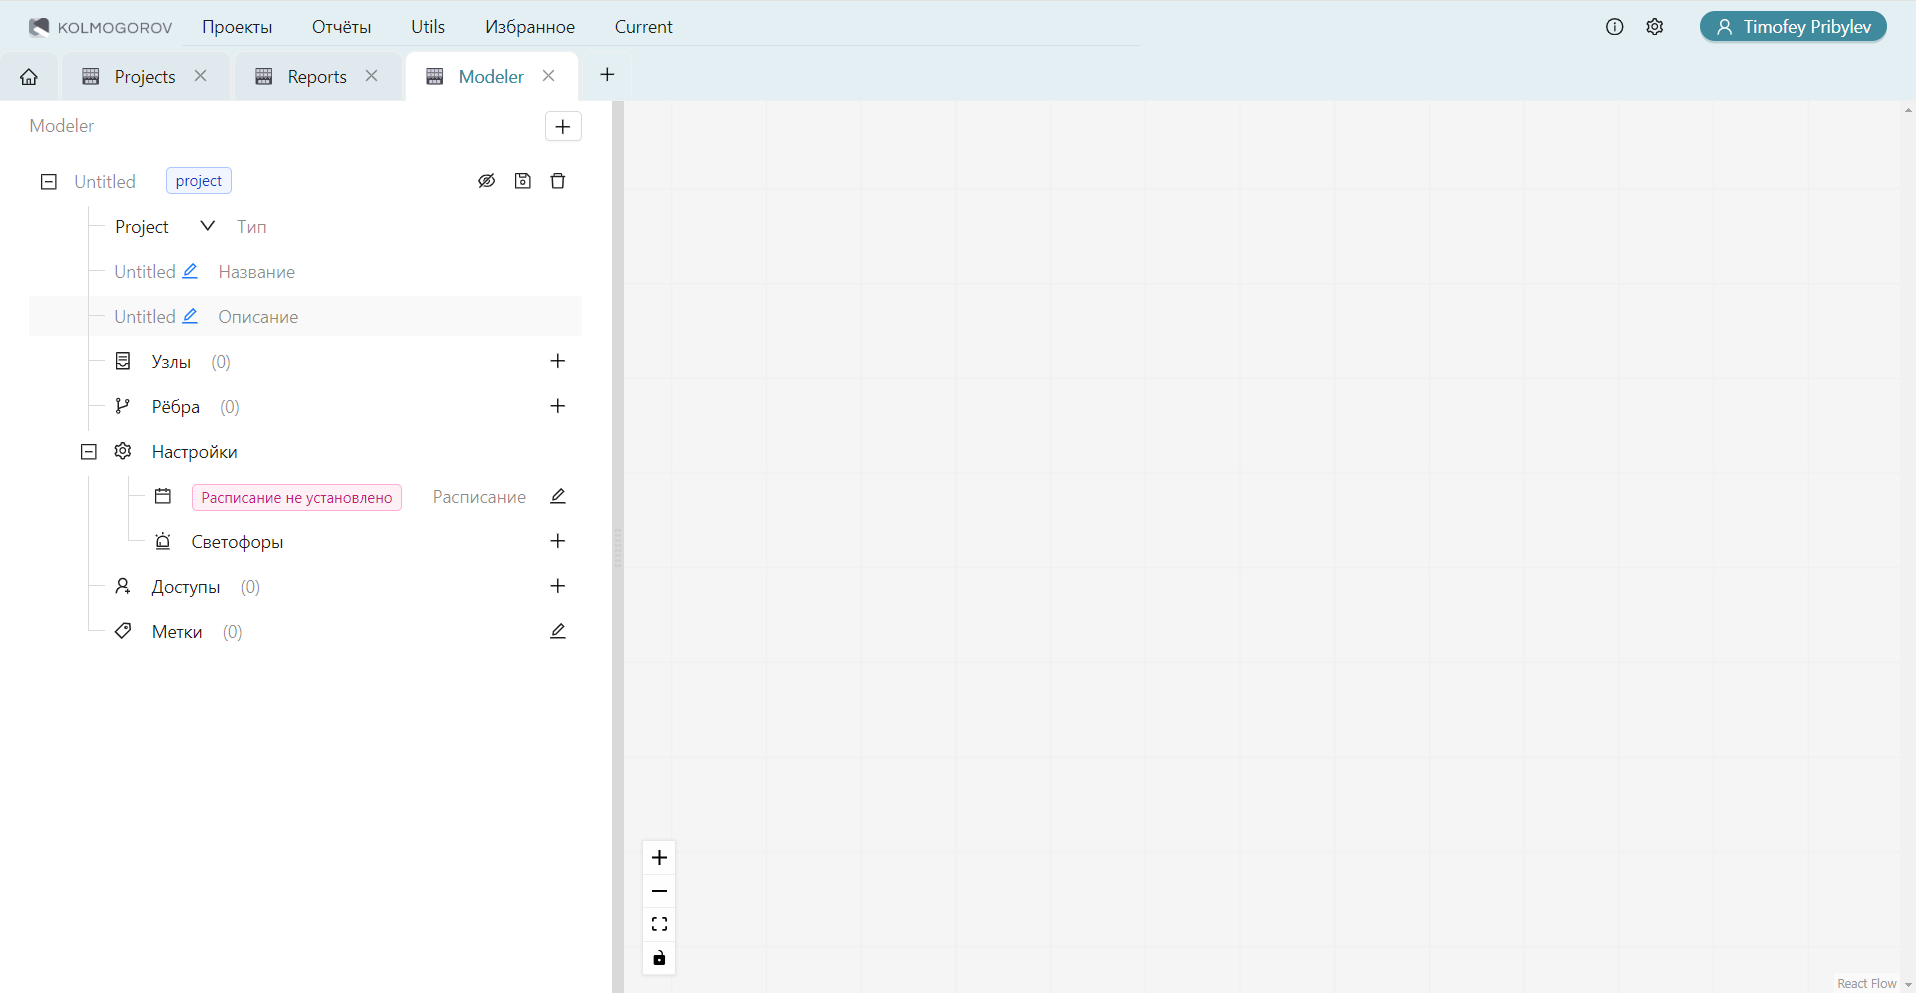
To create a test project, you need to:
- Specify the project name. The project name must contain only Latin letters, numbers, hyphens, and underscores.
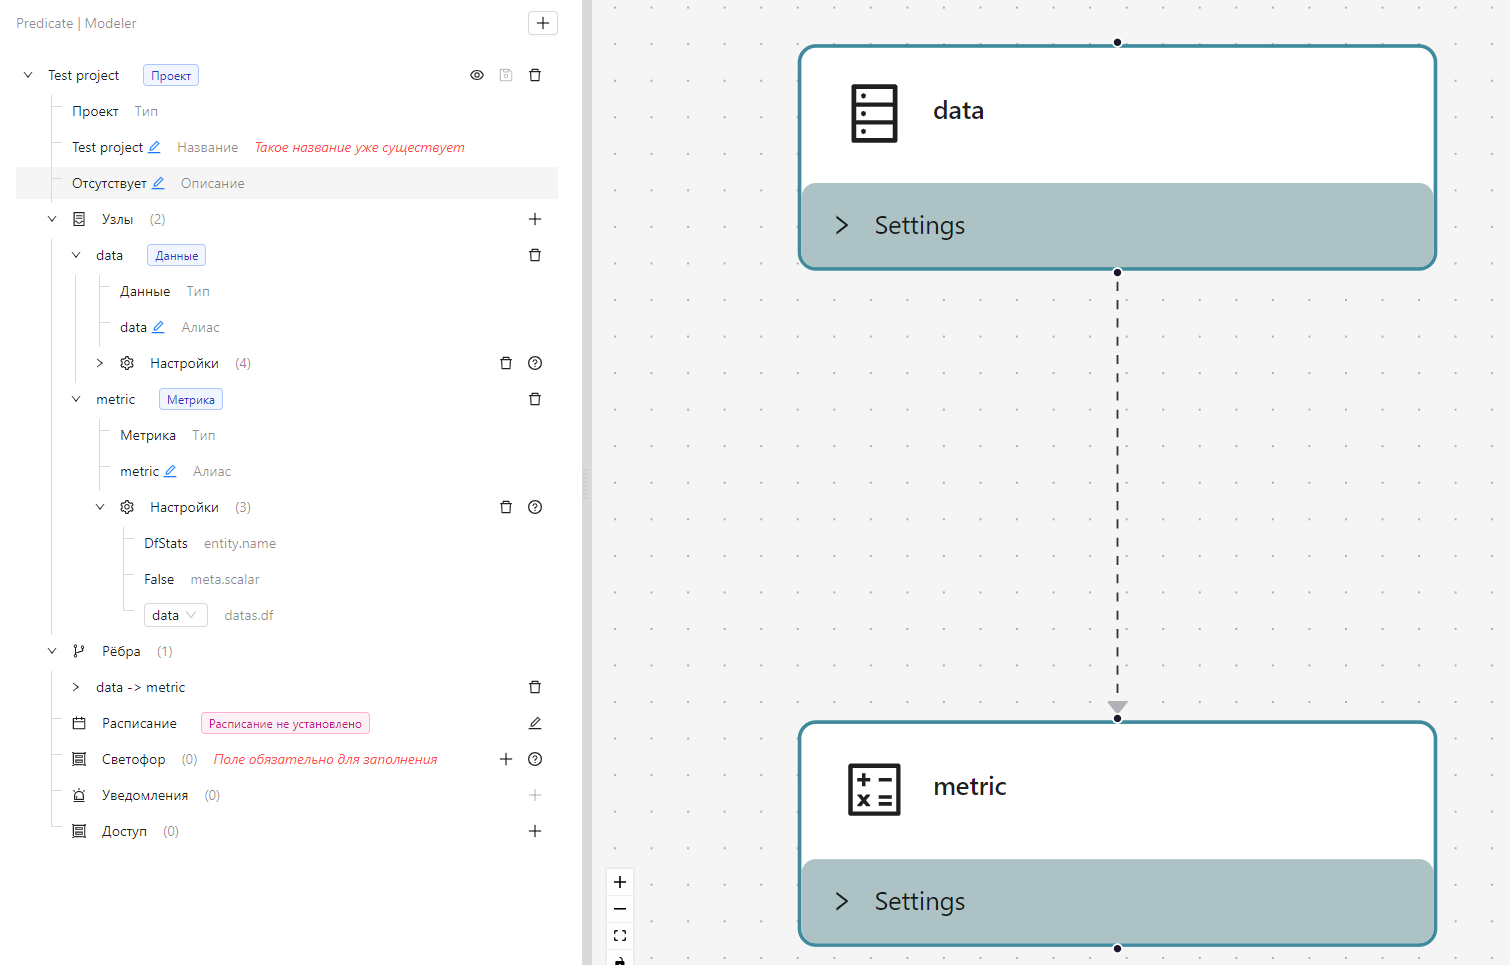
- In the "Nodes" field, double-click on "+" to add two nodes - for data and for metrics.
- Expand the "Nodes" field.
- Expand the first node, specify the type as "Data", Alias - "data". In the "Settings" field, click on "+" and select the previously registered dataset from the catalog.
- Expand the second node, specify the type as "Metric", Alias - "metric". In the "Settings" field, click on "+" and select the metric "cd_2_1_Df_Stats" from the catalog.
- Expand the "Settings" field of the second node, fill in the metric parameters (for the metric "cd_2_1_Df_Stats" - specify the alias of the first node for the parameter "data.df").
- In the top row of the project object, click on the eye icon.
- In the diagram that appears on the right, connect the nodes "data" and "metric" by dragging a line from the bottom point of the "data" node to the top point of the "metric" node.
- In the top row of the project object, click on the save icon. In the appeared form, confirm the save.
The filled project form should look as follows:
Project Execution Check
After creating the project, it should appear in the catalog. You need to double-click on the catalog line to enter it.
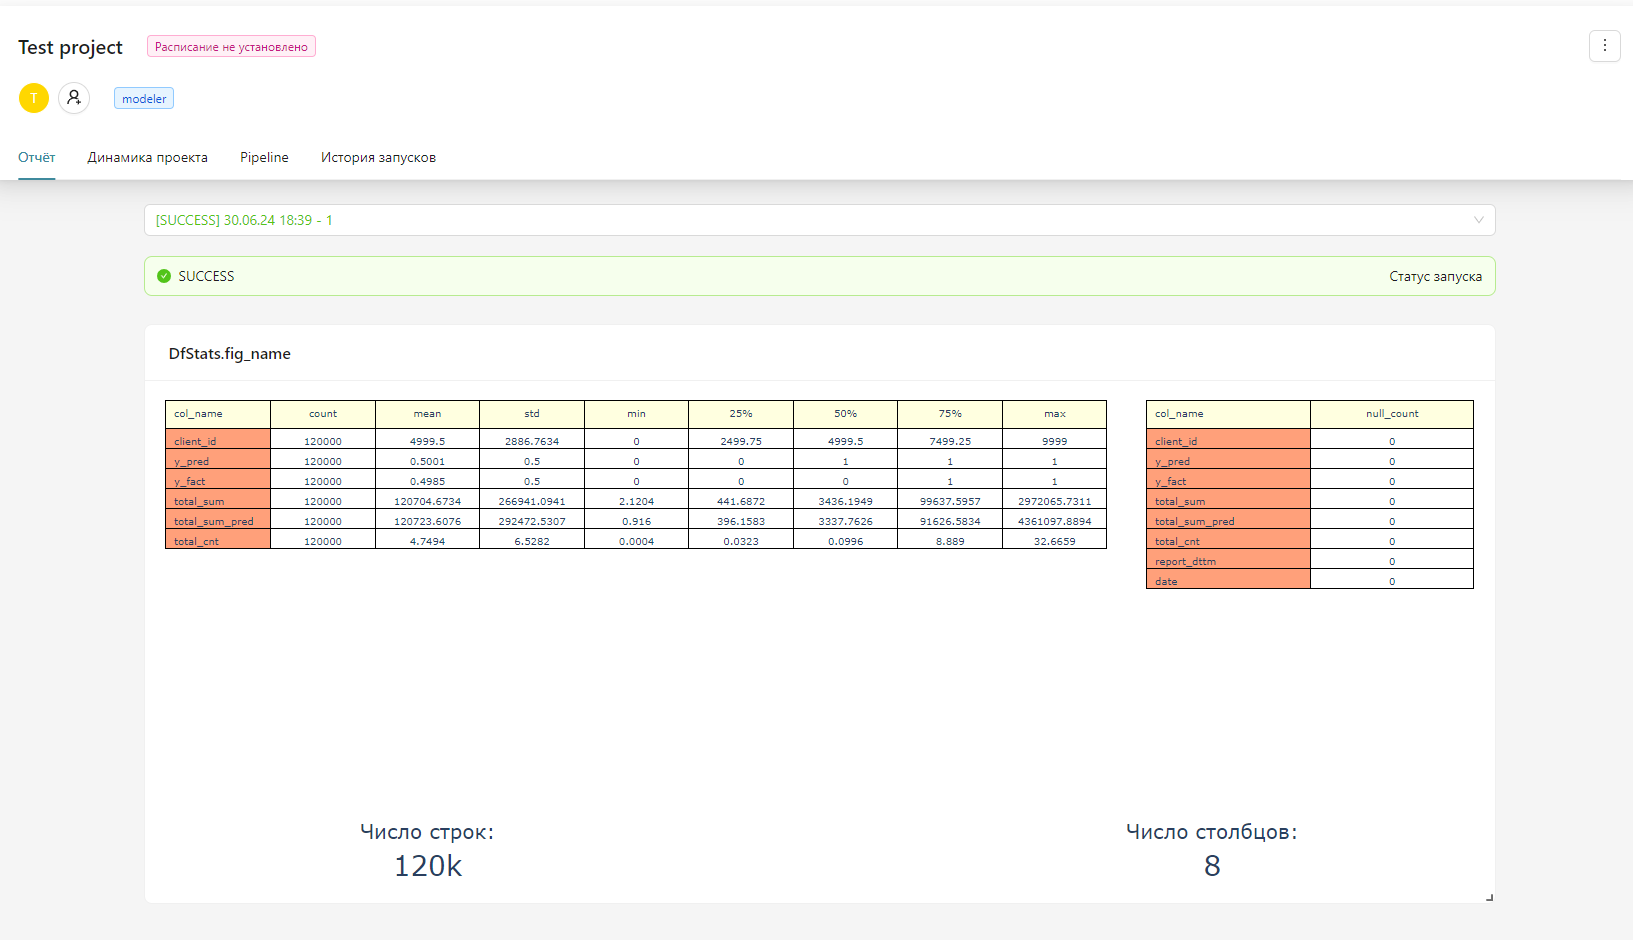
The project should execute within a few dozen seconds (depending on the resources of the worker that was deployed during installation).
The executed project will contain a dashboard with one metric. If the Df_Stats metric was used, it will be a table with statistical data on the dataset: