Creating a Report
To create a new report, navigate to Control Panel > Reports. On the opened reports catalog page, click the "Add" button. A report creation form will open:
The report editor has 4 main sections:
- Filling/editing basic information (unique title and description)
- Adding/removing/editing report data cards.
- Adding/removing/editing access rights
- Adding/removing/editing tags
Additionally, there are buttons for previewing the prepared report, saving the report, and deleting unsaved report data.
Filling in the basic information, access rights, and metrics is similar to these same items on the project creation form.
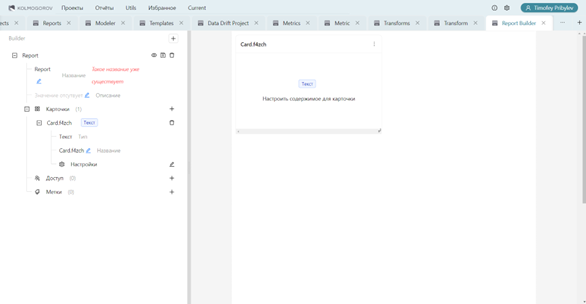
When adding a card, a card settings form appears:

Available card types: 1. Text card. 2. Card with a custom image. 3. Project traffic light card. 4. Project traffic light table card. 5. Metric scalar card. 6. Project scalar table card. 7. Metric chart card. 8. Project dynamics card. 9. Comparison table card for traffic lights of different projects or runs. 10. Comparison table card for scalars of different projects or runs.
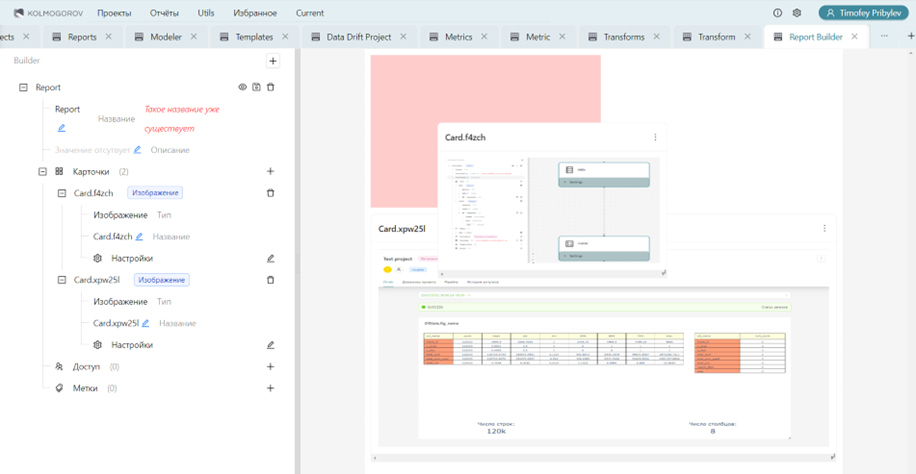
The sizes and relative positions of the cards can be changed on the prepared report field:
After filling in all the report parameters, you must click the save button and confirm the creation of the report in the pop-up window that appears.
Once the report is created, it is available in the reports catalog for viewing. Also, when viewing the report, the download function allows you to download the report as a PDF file.